-Cleanser
-Toner
-Hair brush
-Tail comb
-Water in spray bottle
-Hair gel
-Soap
-Bald cap
-Scissors
-Soft pencil
-Spirit gum
-Cotton buds
-Acetone
-Supra colour palette
-Sponge
Step by Step:
1. Clean the model's face with cleanser and toner, but don't as moisturiser; or at least don't apply moisturiser anywhere where you will be applying the bald cap.
2. Brush the hair very well so there are no knots and brush it backwards.

4. If the model has fine baby hairs, then soap can be used to scrape back and flatten them for a neat look.
5. Brush back the model's hair again, constantly adding more gel or water if needed, to make it completely flush and rounded and smooth against the scalp.

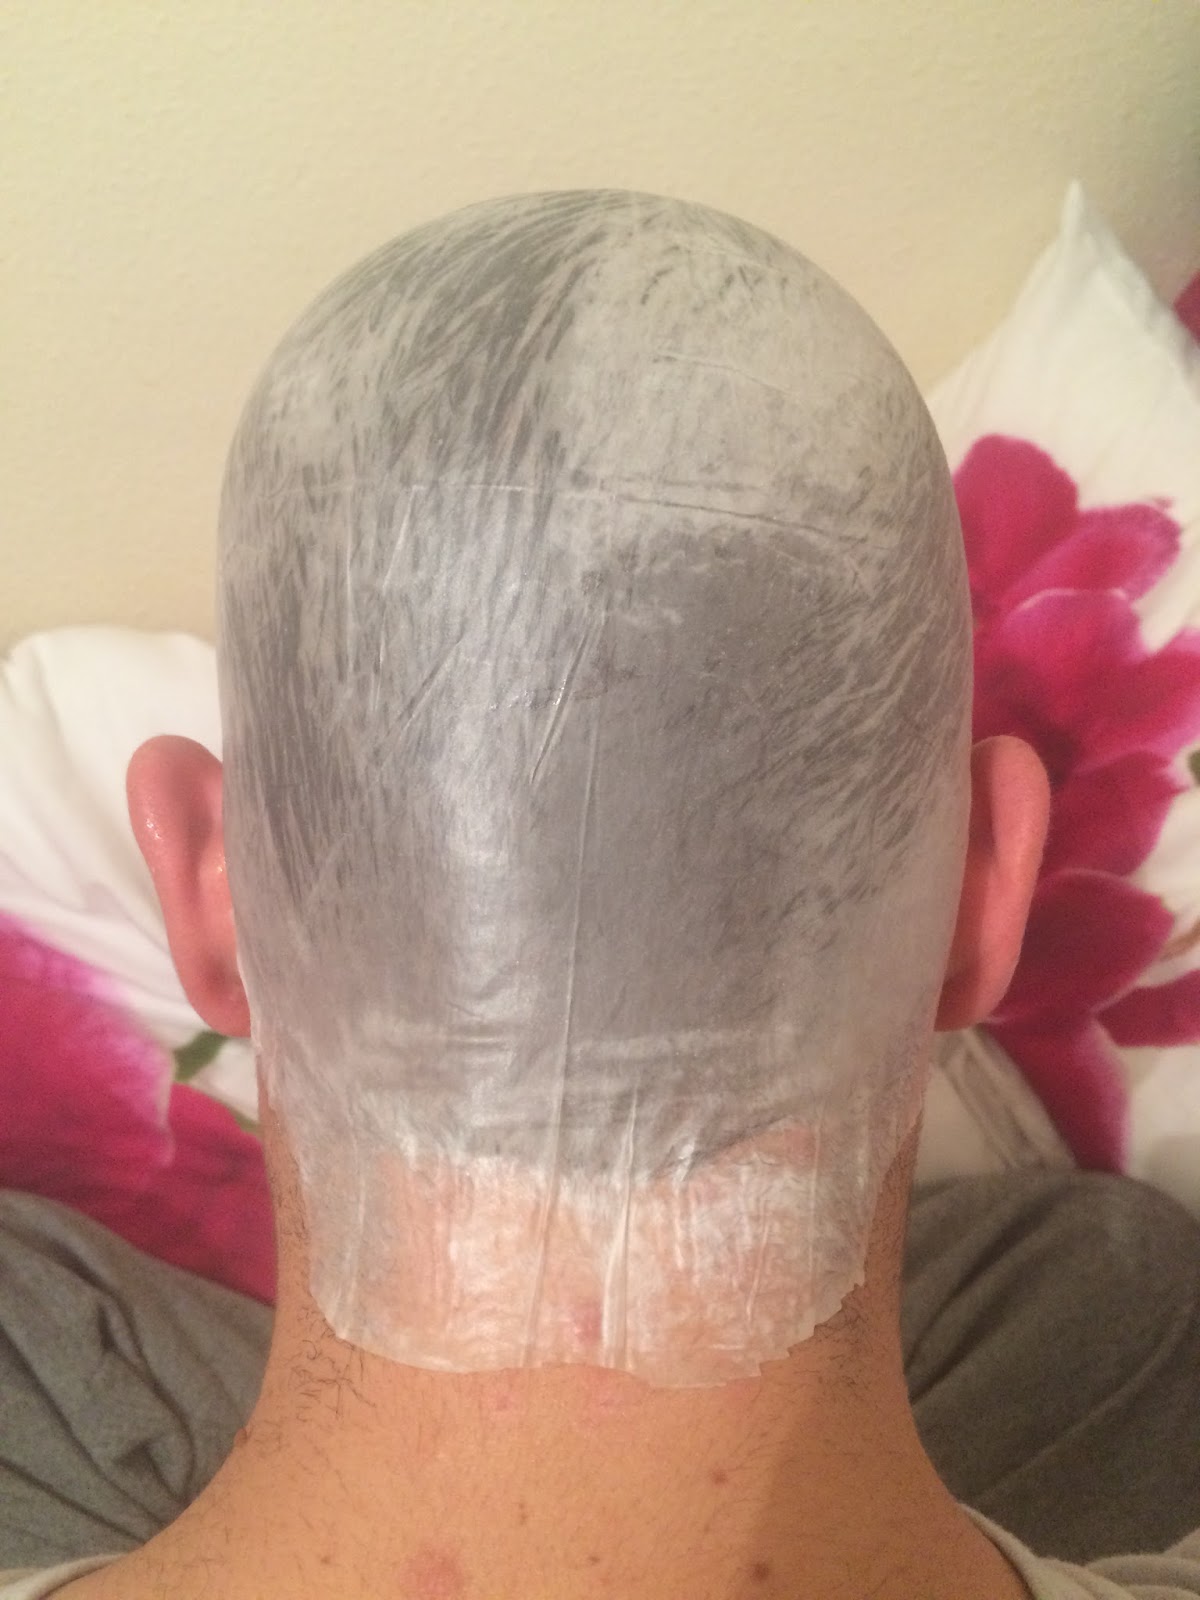
6. Ask the model to hold the front of the bald cap and then carefully pull the back over and to the bottom of the head, trying not to disturb the hair underneath. You can ask another person to hold the top of the hair to keep it in place while you pull the bald cap back.
7. Push back the hair with a pin tail comb all the way round the neaten up the edges.

9. Use a soft pencil to draw an outline around the edges of the hair, making sure to leave a bit extra because you want no hair showing at all. Ask the model to lean her head forwards when doing the back so that there is enough bald cap to cover the hair when she leans forward.
10. Cut all the way round the bald cap, following the guide lines.


12. Wait for the spirit gum to get tacky and then smooth the bald cap down all the way around the head. The model's head needs to be leaning forwards when securing the back.


I am happy with the overall result because from a distance he looks bald and the transitions and colouring look accurate; however from a closer inspection, the edges are still quite visible and the colouring on the bald cap isn't even. I found it difficult to blend out the edges of the bald cap with acetone and I think it was because I didn't leave the glue until it went completely clear, meaning that there would always be a white edges no matter how good I was at blending. I found the sides easier to blend because the glue had fully dried there. In my final assessment I will need to make sure that the glue has gone completely clear before smoothing the edges down. I also noticed that when I added the skin colour on top of the supra colour, they mixed together slightly, giving the skin colour a reddish tint. I tried to use a yellow tone foundation to balance this out, however I think it would be easier to use red aqua colour and then foundation on top because the aqua colour would dry and now mix with the foundation. I have used a man with short hair in this practice, however my female model has got mid-length hair, so I will have to take great care when smoothing down her hair.
No comments:
Post a Comment