-Cleanser
-Toner
-Hair brush
-Tail comb
-Water in spray bottle
-Hair gel
-Soap
-Bald cap
-Scissors
-Soft pencil
-Spirit gum
-Cotton buds
-Acetone
-Supra colour palette
-Sponge
Step by Step:
1. Clean the model's face with cleanser and toner, but don't as moisturiser; or at least don't apply moisturiser anywhere where you will be applying the bald cap.
2. Brush the hair very well so there are no knots and brush it backwards.
3. Use gel to scrape the hair back, using your fingers and a comb, to make it as flat to the head as possible. Don't use any hair grips or pins as they will show through the bald cap; only use gel.
4. If the model has fine baby hairs, then soap can be used to scrape back and flatten them for a neat look.
5. Put a towel round the model's shoulders and spray the models hair with water.
6. Brush back the model's hair again, constantly adding more gel or water if needed, to make it completely flush and rounded and smooth against the scalp.
7. Once the hair has been smoothed backwards, split the hair into a middle parting with a tail comb.
8. Take each side of the hair and wrap it to the opposite side and smooth it upwards and round, to keep the hair looking as round and true to the shape of the scalp as possible.
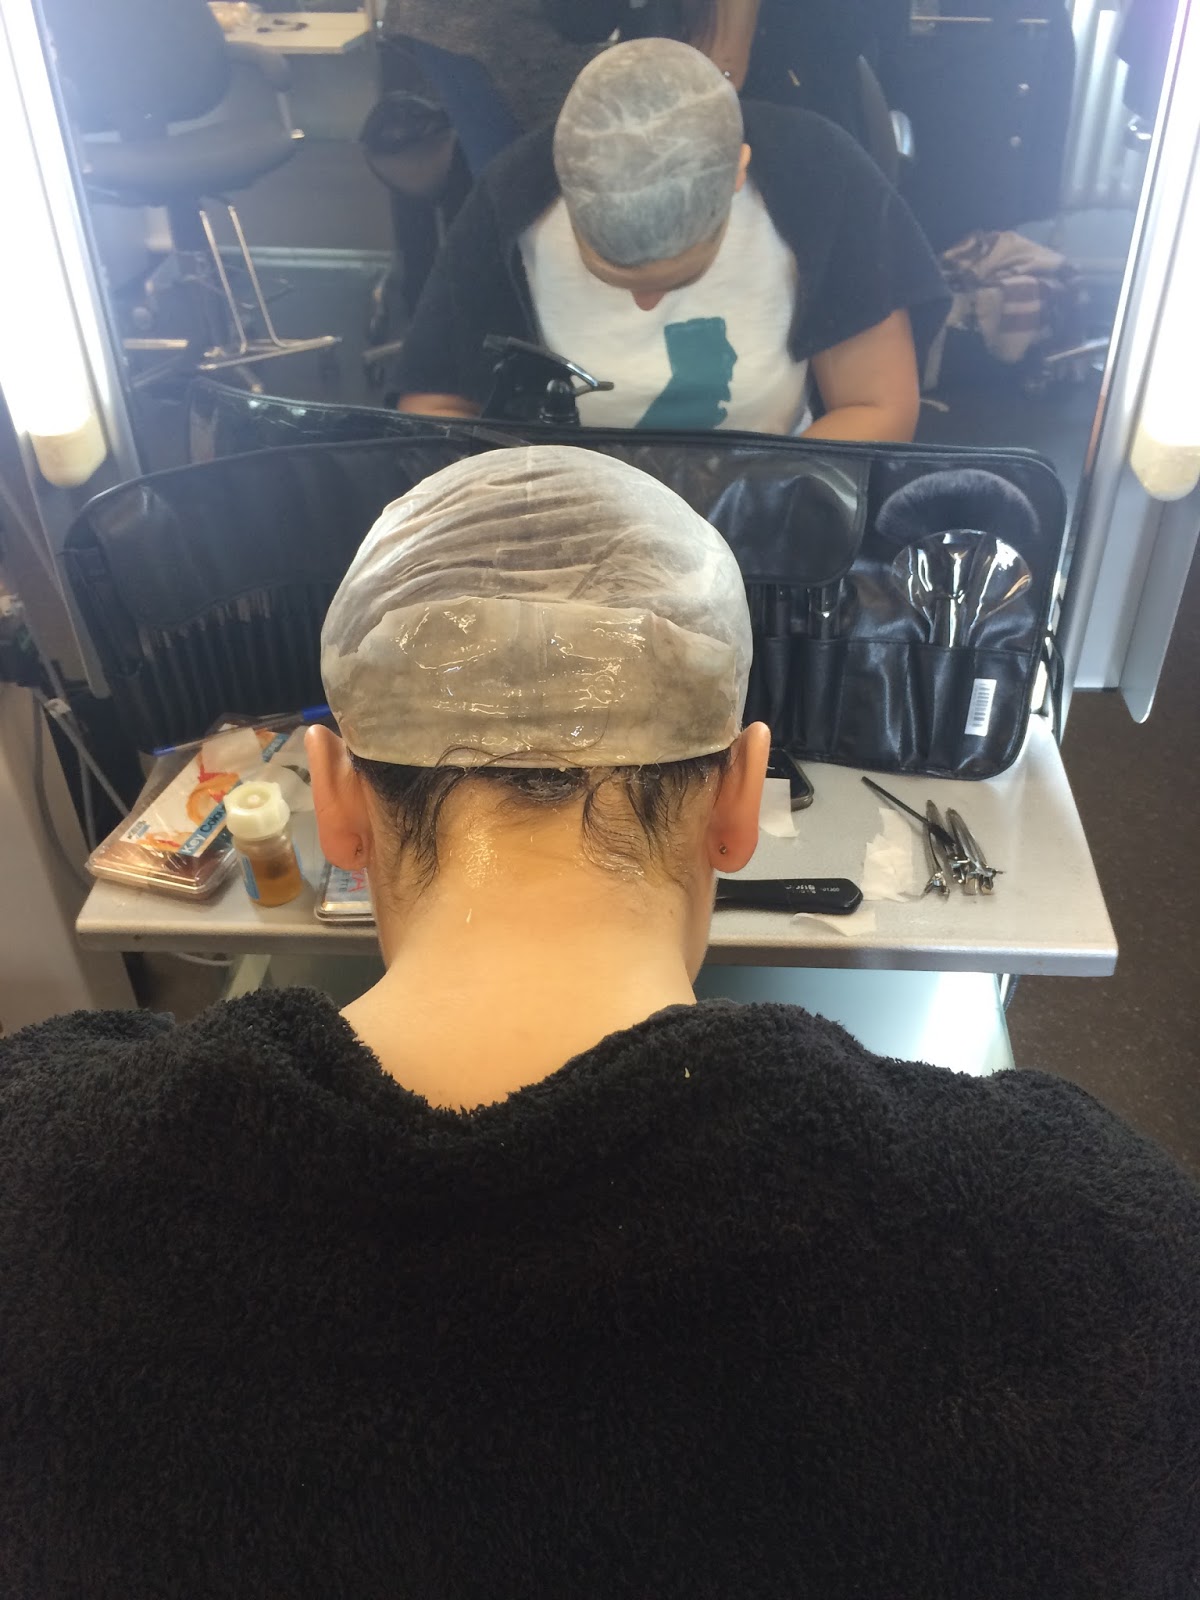
9. Ask the model to hold the front of the bald cap and then carefully pull the back over and to the bottom of the head, trying not to disturb the hair underneath. You can ask another person to hold the top of the hair to keep it in place while you pull the bald cap back.
10. Push back the hair with a pin tail comb all the way round the neaten up the edges.
11. Cut a triangle around the ears so that the edges slot around the ears and so that no hair is showing.
12. Use a soft pencil to draw an outline around the edges of the hair, making sure to leave a bit extra because you want no hair showing at all. Ask the model to lean her head forwards when doing the back so that there is enough bald cap to cover the hair when she leans forward.
13. Cut all the way round the bald cap, following the guide lines.
14. Apply spirit gum onto the head and hair, where the bald cap will be secured, and also around the edges of the bald cap.
15. Wait for the spirit gum to get tacky and then smooth the bald cap down all the way around the head. The model's head needs to be leaning forwards when securing the back.


16. Use a baby bud, with acetone, to smooth and blend the edges.
17. Dab some pink/red supra colour all over the areas with dark hair to colour correct them so that, when skin colour is added on top, it blends in with the natural skin seamlessly.

Notes to Remember
-Do not cut the bald cap before application as it may not fit properly.
-Only buy matte spirit gum so that it doesn't look shiny and obvious in studio lighting.
-You can't put bald caps on people with weaves.
-Work the gel through the roots to make it all smooth down more easily.
-You can ask another person to hold the top of the hair to keep it in place while you pull the bald cap back.
-Model needs to keep her eyes firmly shut when using the acetone on the forehead to avoid it getting in her eyes.
No comments:
Post a Comment